Django is a popular Python web framework for developing web applications. By abstracting some of the complexities of web development, Django lets you rapidly build a scalable and secure site.
In this article, we’ll introduce some of the basics of the permissions system in Django. We’ll discuss how the framework restricts and grants user access to different parts of the app and how to add, update, and delete permissions. We’ll also explore what tools exist to manage permissions in a GUI, which can be especially helpful as your application grows in complexity and number of users.
Let’s get to it.
For any web application, controlling and managing what users can access is essential. Permissions are the basis of role-based access control and the foundation for building a secure site.
In Django, you define permissions at the object (or “model”) level, and then manage permissions for individuals and/or groups. (We’ll cover managing permissions in the next section.) Here, we’ll briefly discuss how to set up your permissions, including:
- The default permissions Django creates when you define an object
- How to add custom permissions beyond the defaults
- How you can use Django to check permissions in code and control access
- Defining groups of users that can have the same permissions
Data entries in Django are objects represented by models, which are Python classes that map to database tables. When you define a model, the framework automatically generates default CRUD permissions to add, change, delete, and view the object.
For example, imagine you’re building a Django app for an online blog with many contributors. For the blog content, you might create a Post object like so:
1 2 3class Post(models.Model): title = models.CharField(max_length=100)
Django will automatically create the following permissions for this post, using the Django Permissions model in django.contrib.auth.model:
add_postchange_postdelete_postview_post
Permissions are represented by short names called “codenames” in Django, which are formatted as the action name + “_” + the object name.
Often, you’ll want to allow users to take actions on objects that go beyond the basic CRUD methods. For example, with our blog app, we may want some users to be able to publish posts or promote them to a featured status.
To account for these situations, you can create custom permissions for them. When defining or modifying a model, specify a list of custom permissions in the Meta class, which is used to configure metadata and settings.
1 2 3 4 5 6 7 8class Post(models.Model): title = models.CharField(max_length=100) class Meta: permissions = [ ("publish_post", "Can publish post"), ("feature_post", "Can feature post"), ]
The code above will create two new object-level permissions called publish_post and feature_post.
In Django, it’s generally best practice to define custom model permissions on a model before running your initial migrations. Django creates the underlying database tables and columns for your custom permissions during the migration process, so if you add them after already migrating, it won't retroactively add those permission columns. You'd need an additional migration to create those permission structures later.
Let’s take a look at how you can use Django to check whether a user has a permission, and then take selective action based on the results of that check.
Continuing our blog example, the following code will show a user a post only if they have permission to view the post.
1 2 3 4 5 6 7from django.contrib.auth.models import User user = User.objects.get(username='bob') # Check if user has 'view_post' permission on Post model if user.has_perm('app.view_post'): show_post()
The user.has_perm() method in Django takes an object permission as its parameter and returns True or False. The term app in app.view_post refers to the name of your Django application, as the models are defined in the application.
For predefined permissions, the permission_required decorator in Django provides a convenient shortcut for restricting access to views only for certain users.
1 2 3 4 5 6from django.contrib.auth.models import User from django.contrib.auth.decorators import permission_required @permission_required('app.view_post', raise_exception=True) def show_post(request): # Logic for showing post that will only show to those with permission
In your application, you’ll often want to set up groups of users that can be given the same permissions based on their roles. For example, our blog app might require groups like “Writers,” “Editors,” and “Visitors” who have different levels of access.
With the Group model in Django, you can create groups and then use the user.groups.add() method to assign users to groups. Here’s an example of how you might add a user to the Editors group:
1 2 3 4 5 6from django.contrib.auth.models import User, Group user = User.objects.get(username='bob') editors = Group.objects.get(name='Editors') user.groups.add(editors)
When you check permissions with user.has_perm(), Django will consider the user’s individual permissions as well as permissions inherited from any groups they are in. So, you can use groups to assign default permissions while still being able to further customize at the individual user level.
Now, let’s take a look at how to manage permissions in Django. Notably, this works the same for users as it does for groups.
Once you’ve set up the permissions for your web app, you need a way to grant or revoke permissions for users and groups. In this section, we’ll cover managing permissions three ways: (1) in code, (2) using the built-in Django admin tool, and (3) with custom internal tools.
In Django, a user has no permissions upon creation and must be granted permissions explicitly. To grant (or revoke) permissions for a user, you’ll call the add_permission() and remove_permission() functions that are part of Django’s user.user_permissions API.
1 2 3 4 5 6 7 8from django.contrib.auth.models import User from django.contrib.auth.models import Permission user = User.objects.get(username='bob') permission = Permission.objects.get(codename='publish_post') user.user_permissions.add(permission) # adds permission user.user_permissions.remove(permission) # removes permission
In order to run these commands (e.g., in the Django shell, in a Python script, or inside a terminal), you will need to either be the Django superuser or have the permission change_user.
- The Django superuser is created by using the
createsuperuserutility in Django’s manage.py script. The command ispython manage.py createsuperuser. - There can only be one superuser. The superuser can grant any permissions to any user, and they are the only one who can grant the
change_userpermission. - Anyone that has been given the
change_userpermission by the superuser can modify other users and their permissions. They are only able to grant permissions that they themselves have.
While managing user permissions programmatically can work for very small applications, most teams prefer a GUI for site administration, which allows you to view user permissions at a glance and modify them without writing code.
Django comes with a built-in tool for this called Django admin. Superusers and any users with the permission is_staff can access this tool. It lets you manage users and groups, along with any models you’ve registered.

By clicking into a user or group, you can modify their permissions directly from Django admin (providing you have the right access level to do so).

Django admin provides a basic permissions management tool out of the box, but it tends to quickly prove unsustainable for larger apps that have many users, models, and types of permissions. The performance of the tool starts to suffer at the tens of thousands of rows, and there’s no robust search functionality for large datasets. Django admin is also a developer-focused tool which is a plus for some users, but may not work well for someone in customer support, for example.
Django admin has some options for customization, but bear in mind that using those options tends to result in bloated, less-maintainable code, with extra models and complex handling of advanced scenarios.
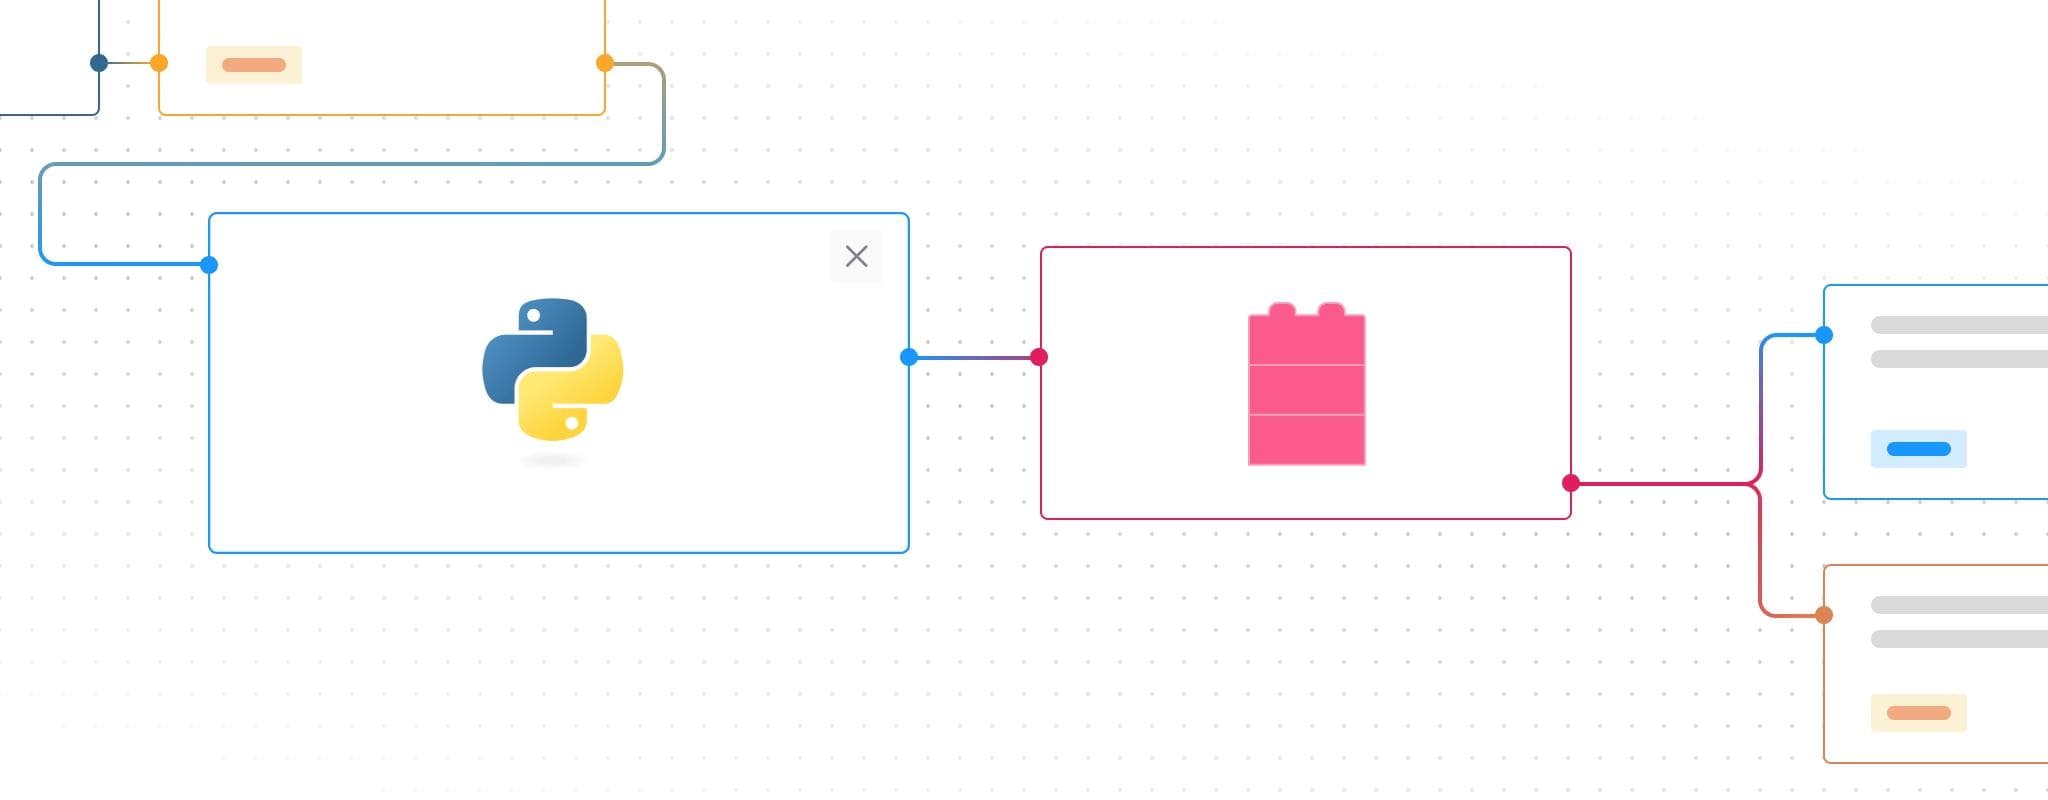
Because of the challenges we’ve noted, many devs find it worth investing in a custom internal tool rather than trying to wrangle Django admin into a suitable solution. Retool, for example, can enable you to build a Django admin panel or GUI, integrating with Django backends through APIs. For instance, you can use the Django REST framework to expose the User and Permission models to Retool for display and editing and to push changes back to the Django backend.
In addition to allowing basic changes to permissions, you can use this setup to support more complicated management workflows. With our blog example, let’s consider a process where editors need to approve promoting “Writers” to “Senior Writers” with additional publishing permissions. In Retool, we can build an interface where Writers request promotions by submitting a form. This triggers a notification email to the Editor group for approval. The Editors get a dashboard in Retool where they can see open requests. When an Editor clicks to approve a request, this calls a Django API in the backend to update the user in the database and grants them the new Senior Writer role with the new permissions. This type of workflow is not feasible in Django admin, but can be readily supported with a custom tool quickly spun up in Retool.
If your primary focus is user permission management within a smaller Django application, the built-in Django admin is the natural choice. However, if you prefer—or require–more custom tooling for managing permissions, want to build additional layers of access control, or are simply scaling your app, you might consider building an alternative.
Go beyond Django admin and get started building a custom Django GUI today with Retool. Give it a whirl for free, or book a demo.
Reader


