

You could build all of your own React Native components, or you could use the wonderful libraries that your fellow developers have kindly open sourced. This post will run through some of the most popular component libraries for React Native—both general purpose (sets of buttons, containers, etc.) and specialized (camera, chat, maps, etc.).
Now, ideally, as responsible developers, when choosing between component libraries, we’d take several hours to rigorously evaluate them all along some standard guidelines and pick whatever fits our needs best. In reality, it’s usually more of a “well, this one seems to work” kind of decision. To make it more rigorous but less time consuming, we’ve organized this roundup in a way that focuses on what’s important, along with links to docs and related content you can read yourself.
General purpose component libraries in React Native give you full sets of components, generally 20+ of them, that you can assemble full fledged UIs out of; think buttons, containers, text, badges, etc. There are a bunch of these out there (we found 7), and they’re all relatively similar, so teams usually pick whatever matches their stylistic preferences or has a specific component they’re looking for. All of the libraries in this post are free to use.
NativeBase is arguably the most polished React Native component library on the list. It has 17k stars on GitHub and is pretty actively maintained (150+ releases since 2016). The library is built by Geekyants, a design and dev studio. They also maintain a public roadmap for NativeBase, plus a Discord with 1K+ members.
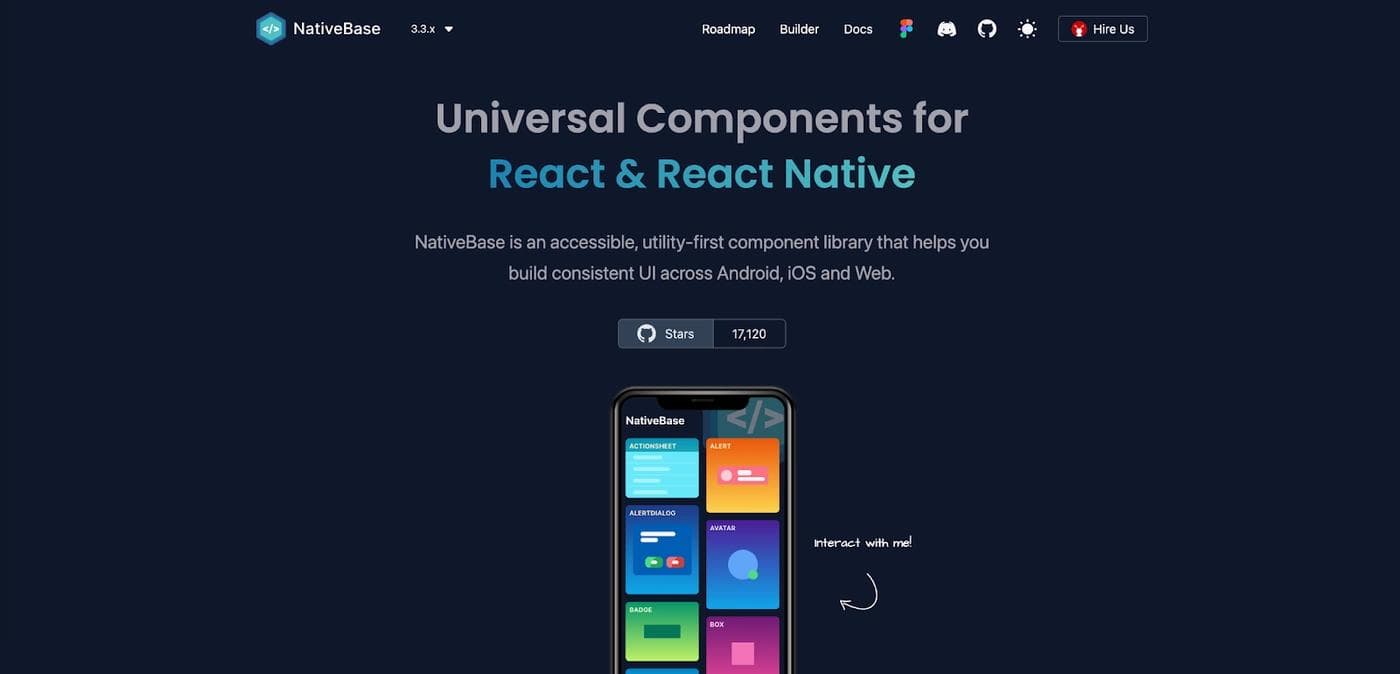
The quality of NativeBase’s site and docs is impressive (not exactly an objective measure, but hey). They also offer a free Figma design kit for doing mockups before you actually use their components.
NativeBase is utility first, which means they follow a Tailwind-like approach for styling your components. Traditionally, you’d build your components, apply CSS classes to them, and define those classes however you’d like in a separate file. In NativeBase, you apply semi-human-readable styles to every component inline.
Here’s a modified example from their docs:
1 2 3 4 5 6 7 8 9 10 11 12 13 14 15 16 17 18 19 20 21 22 23 24function Example() { return <NativeBaseProvider> <Box bg="primary.600" py="4" px="3" rounded="md" width={375} maxWidth="100%"> <HStack justifyContent="space-between"> <Box justifyContent="space-between"> <VStack space="2"> <Text fontSize="sm" color="white"> Today @ 9PM </Text> <Text color="white" fontSize="xl"> Let's talk about Nativebase! </Text> </VStack> <Pressable bg="primary.400" alignSelf="flex-start" py="1" px="3"> <Text textTransform="uppercase" fontSize="sm" fontWeight="bold"> I’m going! </Text> </Pressable> </Box> </HStack> </Box> </NativeBaseProvider>; }
NativeBase is also highly themable. They support what they call “design tokens” which you might be familiar with as a sort of CSS variable. You can define sets of primary colors, default spacing, padding—you name it—and then reference those in your utility classes.
Finally, NativeBase has Expo support if you’re using it as your build system, and supports rendering across both mobile and web. So if you’re working with react-native-web, NativeBase components will work on your web previews as well as your native ones. We use NativeBase at Retool for our mobile product and love it!
React native elements is the most popular component library for React Native, with over 22K stars on GitHub. Releases are a bit more infrequent than Nativebase (75 at the time of writing), but the codebase is highly community driven, with almost twice the number of contributors as Nativebase.
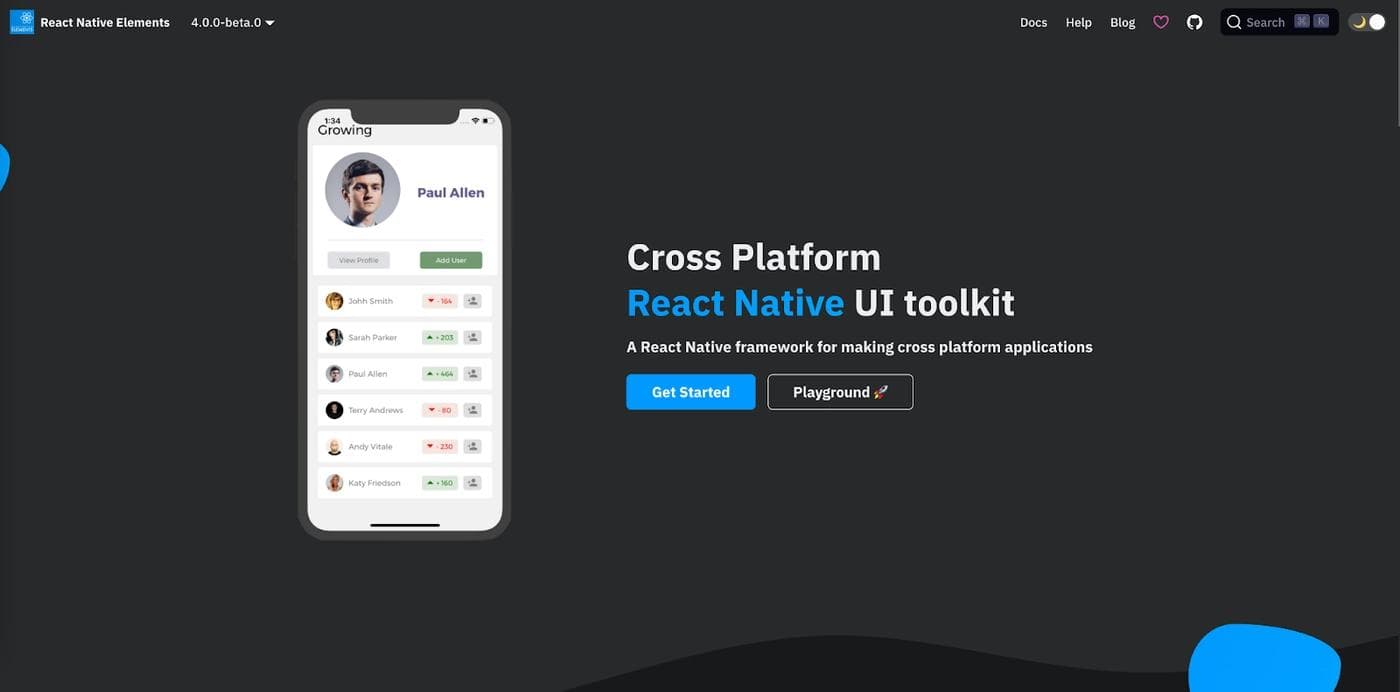
To install React native elements, you’ll actually need to install 3 packages via npm – react-native-elements, react-native-vector-icons, and react-native-safe-area-context (not sure why they don’t just set these as dependencies). The documentation is a bit less polished than Nativebase (more typos, less consistency, etc.).
There are 30 components in the docs, some of which are ported from external component sets, and some of which are just strangely specific (e.g., this Airbnb rating component). Some of my favorite unique ones, outside of the normal buttons and lists:
- The BottomSheet, a button that brings up a modal from the bottom of the screen
- The FAB, a floating action button with a fixed position as the user scrolls
- The PricingCard, which is, well, a pricing card
For theming, React native elements has a specific (and complex) structure for how you can customize components in the library.
One approach is using composition, where you create “meta” components composed of the base component using specific style props (e.g., <BlueButton> which is just <Button color=”blue”>). As that can get pretty tedious for large component sets, you can also apply themes across an entire set of components via a dictionary using the ThemeProvider.
React native elements supports using react-native-web for rendering in the browser and works with Expo.
For those Material Design fans among us, React Native Paper is a component library for React Native that’s Material Design compliant, and indeed looks like what you’d expect from something on Android:
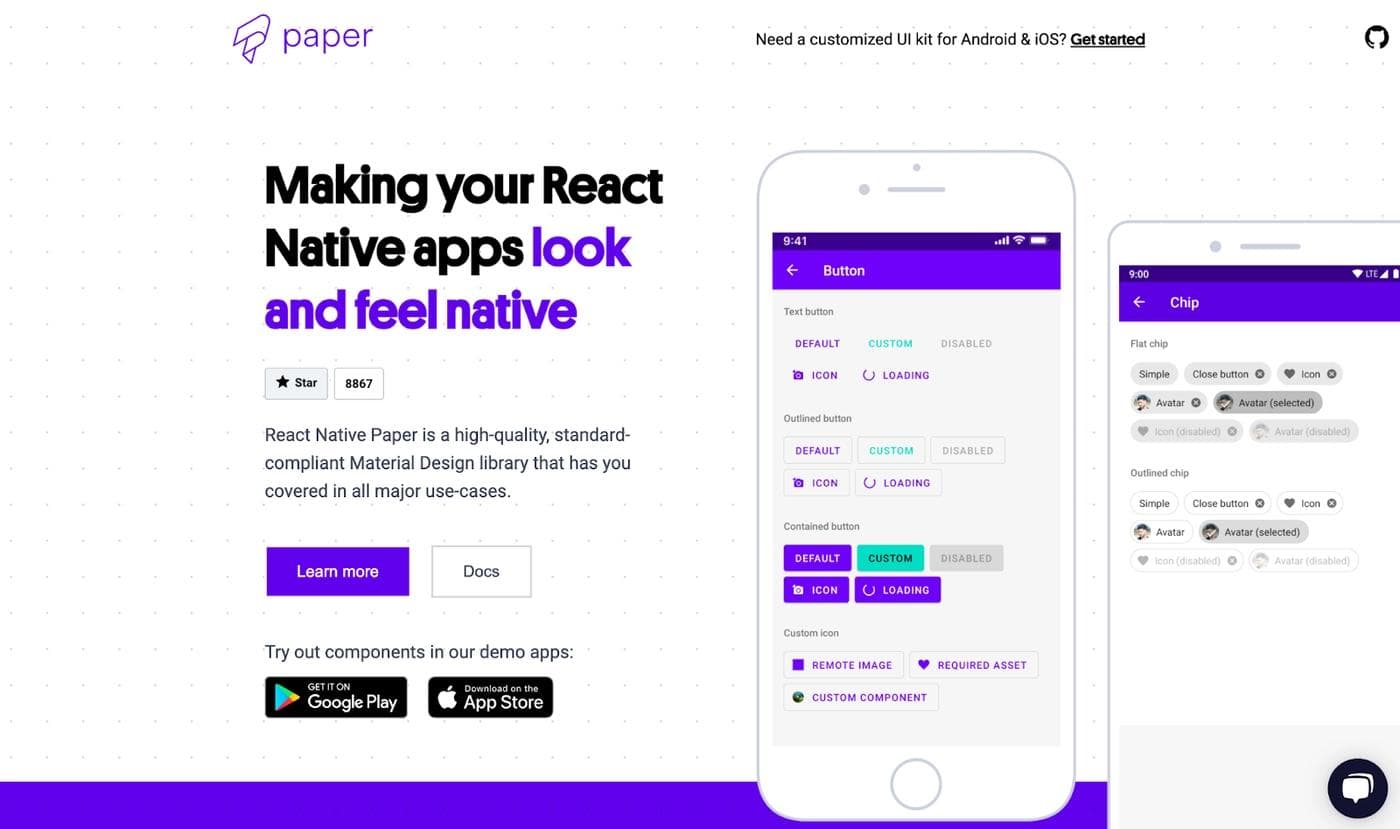
It has almost 9K stars on GitHub, plus a Discord with 4K members. Like Nativebase, React Native Paper is developed by a React Native dev shop, named Callstack. They have a nice showcase section in the docs where you can see apps built with React Native Paper.
The docs list 34 components, although some contain multiple sub-components (e.g. several sizes in the Typography section). A few fun ones:
- A Portal component for rendering components elsewhere in the parent tree
- A Surface component for adding depth via box shadows
- A TouchableRipple component that acts as a wrapper to add ripple animations
Theming works in a similar way to React native elements, with options for per-component customization or broader theme objects.
React Native Paper supports deploying via Expo and using react-native-web.
A strange name perhaps, but a force nonetheless, React Native UI Kitten has almost 9K stars on GitHub. The ecosystem is quite a bit smaller than other component libraries on this list (<30 releases, <50 contributors) but the library is pretty full featured. It’s based on the Eva Design System, which is a set of purchasable design templates (although this library is free).

The UI Kitten site talks a bunch about Runtime Theming, or the ability to change your component themes during runtime. Outside of adding a dark mode toggle to your app, I’m not sure what else this would be particularly useful for. The component set in the docs is pretty standard and no frills—buttons, modals, forms, etc.
React Native UI Kitten supports running on the web, but it’s experimental.
Beyond the four most popular React Native component libraries covered above, there are a lot more out there—if any of the above don’t satisfy your needs, here are a few more worth checking out:
- RNUI – from Wix, 4K stars, a lot of components (60+), supports RTL
- Teaset – 2.8K stars, pretty barebones
- Shoutem UI – 4.7K stars, has some basic animation built in
Most component libraries have a section at the bottom titled “which is the best” but we will not be doing that here, since it’s a nonsensical concept. Every project—yes, yours too—is different and you know your constraints better than anyone. The goal of this post is to get the information you need on paper—the judgment is yours.
Outside of general purpose component libraries (buttons, modals, etc.) teams use special purpose libraries for things like maps, routing, and chat. This section will run through popular component libraries for specific pieces of your app.
Masochists may enjoy building animations from scratch on mobile, but for the rest of us, there’s Lottie. You might not think of animations as a component library, but Lottie is basically a React Native wrapper around Adobe After Effects, exposed as a single component. Here’s how it works:
1 2 3 4 5 6 7 8 9 10 11 12 13 14 15 16 17 18 19const [finish, setFinish] = useState(false); const handleFinish = () => { setFinish(true); }; return ( <View> <LottieView source={require("./assets/67313-lava-preloader.json")} style={styles.animation} onAnimationFinish={() => handleFinish()} autoPlay loop={false} /> <Text>{finish ? "Finished" : "Running.."}</Text> </View> );
You import your animation content from an external file, and can use JavaScript to programmatically control and interact with it. For example, you might want to keep the animation going until a fetch Promise is resolved (a loading screen). The LottieView component has a bunch of props (an onAnimationFinish handler, speed prop, etc.) that you can work with based on whatever else is going on in your code. You can read more in the API docs here.
The lottie-react-native package has almost 15K stars on GitHub and was originally developed (and now maintained) by Airbnb. Installation can be a bit hairy for cross platform use.
If you’re building any sort of map into your React Native app, react-native-maps might be a good choice. It’s a series of components—like a <MapView /> and <Marker /> among others—for creating map-based experiences on mobile.
The core component in react-native-maps is the MapView; basically everything is a child that gets rendered on top of it. The MapView component has a few useful props, namely a region that you can use to focus the “camera” as it were (which is also coincidentally its own prop). Here’s an example from their docs of rendering a MapView with a dynamic region stored in state, modified by yours truly to use a hook:
1 2 3 4 5 6 7 8 9 10 11 12 13 14 15 16 17const defaultRegion = { latitude: 37.78825, longitude: -122.4324, latitudeDelta: 0.0922, longitudeDelta: 0.0421, } const [region, setRegion] = useState(defaultRegion) render() { return ( <MapView region={region} onRegionChange={setRegion} /> ); }
You can render lists of markers, overlay heatmaps, draw arbitrary polygons and lines, and even add callouts. And if any of this is interesting to you, React-native-maps is actively looking for maintainers.
React-navigation is a popular (20K stars on GitHub) library for routing in Expo / React Native apps. One of the things that can throw newer developers to React Native is that there’s no concept of the history stack, like you’d expect in a browser; instead, you need to worry yourself about storing state related to the previous screen, next screen, etc. React-navigation helps solve that by allowing you to define a sort of master structure for your app, usually at the app route, that points to external components:
1 2 3 4 5 6 7 8 9 10 11 12const Stack = createNativeStackNavigator(); function App() { return ( <NavigationContainer> <Stack.Navigator initialRouteName="Home"> <Stack.Screen name="Home" component={HomeScreen} /> <Stack.Screen name="Details" component={DetailsScreen} /> </Stack.Navigator> </NavigationContainer> ); }
The NavigationContainer and Stack components structure your app and allow react-navigation to build that history stack. You can also pass through additional props to these screens. If you’ve used NextJS or a similar framework for web, this is roughly approximating the folder structure you’re used to in /pages, with more customizability plus out-of-the-box support for that signature “slide” effect we love so much on mobile. You also get components for a header, bottom bar, and drawer UI-wise.
React-navigation is built and maintained by Expo and SoftwareMansion.
React-native-gifted-chat is a UI component for, you guessed it, building out chat experiences on mobile. They’ve got 11.5K stars on GitHub and 100+ community contributors. If you follow their data model / schema for designing messages and users, it’s pretty much a one component show:
1 2 3 4 5 6 7 8 9 10 11 12 13 14 15 16 17 18 19 20 21 22 23 24 25 26 27 28 29 30 31 32 33 34 35 36 37import React, { useState, useCallback, useEffect } from 'react' import { GiftedChat } from 'react-native-gifted-chat' export function Example() { const [messages, setMessages] = useState([]); useEffect(() => { setMessages([ { _id: 1, text: 'Hello developer', createdAt: new Date(), user: { _id: 2, name: 'React Native', avatar: 'https://placeimg.com/140/140/any', }, }, ]) }, []) const onSend = useCallback((messages = []) => { setMessages(previousMessages => GiftedChat.append(previousMessages, messages)) }, []) return ( <GiftedChat messages={messages} onSend={messages => onSend(messages)} user={{ _id: 1, }} /> ) }
Their docs have a link to a working demo here.
The library supports replies and quick replies, multimedia messaging, videos, and even sent and received checks. You don’t have a ton of UI flexibility as the API is basically just one giant component, but if you’re looking to build something quickly it’s quite nice.
React-native-vision-camera is a set of UI components for building camera-related features into your React Native apps. The library currently supports photo and video, customizable FPS, frame processors, smooth zooming, and HDR/night mode. It’s basically a single component—<Camera />—with a lot of props like relative position, booleans for features like having flash or zoom, min and max zoom factors, etc.
A basic implementation might look something like this:
1 2 3 4 5 6 7 8 9 10 11 12 13function App() { const devices = useCameraDevices() const device = devices.back const isAppForeground = useIsAppForeground() if (device == null) return <LoadingView /> return ( <Camera style={StyleSheet.absoluteFill} device={device} isActive={isAppForeground} /> )
If you’re using react-navigation, you can even pause the camera when a user navigates to another screen. The library is on the smaller side, with 2.2K stars, and built mostly by a single maintainer.
For whatever reason, the snapping carousel has become a standard UI pattern on mobile:
If you’re looking to add something just like this to your app, react-native-snap-carousel is your library. You define the carousel “back end” so to say with an array of objects containing things like title, text, background, etc. Then you pass it through to the Carousel component:
1 2 3 4 5 6 7 8 9 10 11 12 13 14 15 16 17 18 19 20 21 22 23 24import Carousel from 'react-native-snap-carousel'; export class MyCarousel extends Component { _renderItem = ({item, index}) => { return ( <View style={styles.slide}> <Text style={styles.title}>{ item.title }</Text> </View> ); } render () { return ( <Carousel ref={(c) => { this._carousel = c; }} data={this.state.entries} renderItem={this._renderItem} sliderWidth={sliderWidth} itemWidth={itemWidth} /> ); } }
They have a working example you can mess with here. The library has 9K stars on GitHub. There are a few known issues around Android debugging you’ll need to get around.
Did we miss something? Working on a React Native component or component library you’d like to see here? Let us know @retool.
Reader