
This guest post was written by Jason Wang, software engineer at Census. Census is a data activation platform bridging the gap between data and marketing teams.
Retool helps developers build internal tools remarkably fast, with less code. At Census, our goal is similar: we aim to help data teams work better and faster by syncing data warehouses like Snowflake, BigQuery, and Redshift into SaaS apps—without the pains of custom pipelines.
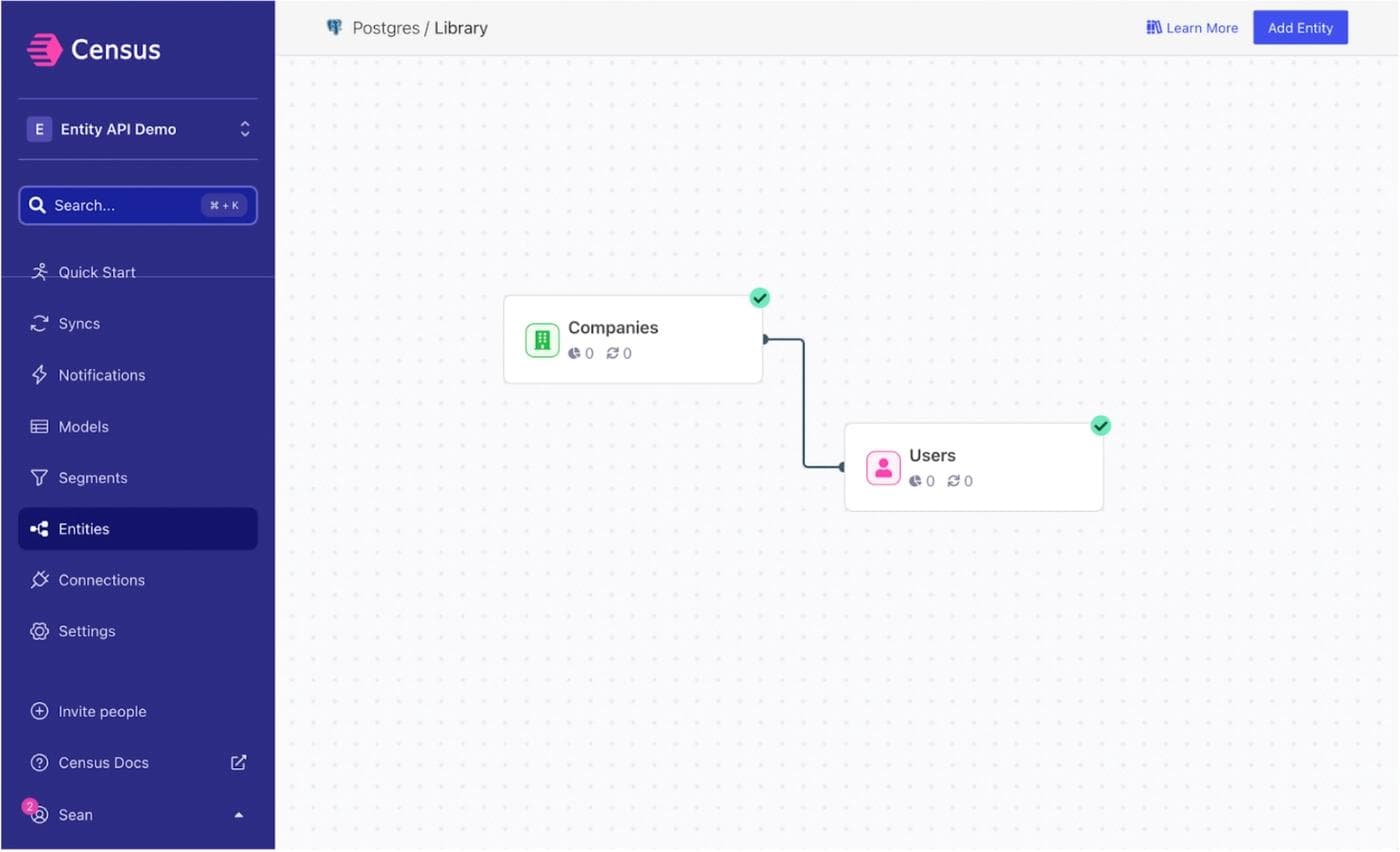
Historically, Census has helped companies push data into customer-facing business tools via Reverse ETL syncs. We’ve made it easy for data teams to provide insights to business teams through data modeling features like Entities, which are the semantic definition of the most important data of your business.
Pulling customer data for ad hoc use cases is a different challenge and requires complicated API architecture—so we recently released the Entity API to make personalization on demand easier. Now, you can reuse the modeled data in your organization’s existing source of truth to power Retool apps like a Customer 360 dashboard or Shopify inventory sync.
In this blog post, we’ll show you how easy it is to use Census + Retool to get rapid access to your customer data wherever you need it. Follow along!
You’re going to need two things:
- A Retool account
- Census configured with entities and access to the Entity API. (Read more about how that works.)
Once you’ve got those set up, we can get moving.
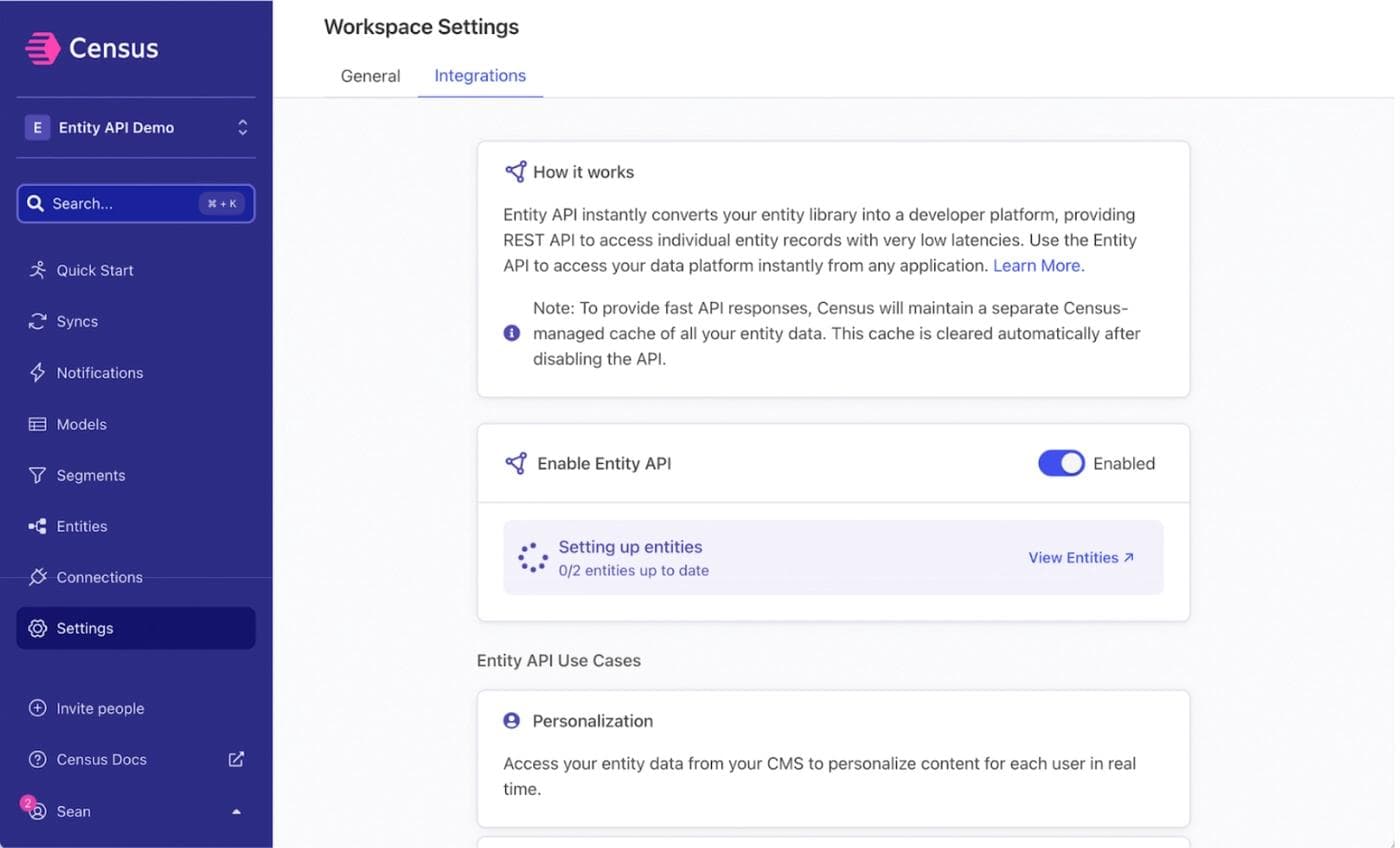
First up, you’ll need to enable the Entity API in Census.
1) In your Census workspace settings, turn on the Entity API integration. This will start the caching process. Caching your data will take a few minutes, so we’ll use that time to get our Retool app set up.
2) While we’re here, make sure to grab the API Key and store it somewhere safe. We’ll need it in a few minutes.
Now switching over to Retool, let’s create an app and lay out all of our components. We’ll get them looking how we want first, and then we’ll wire them up to the Entity API.
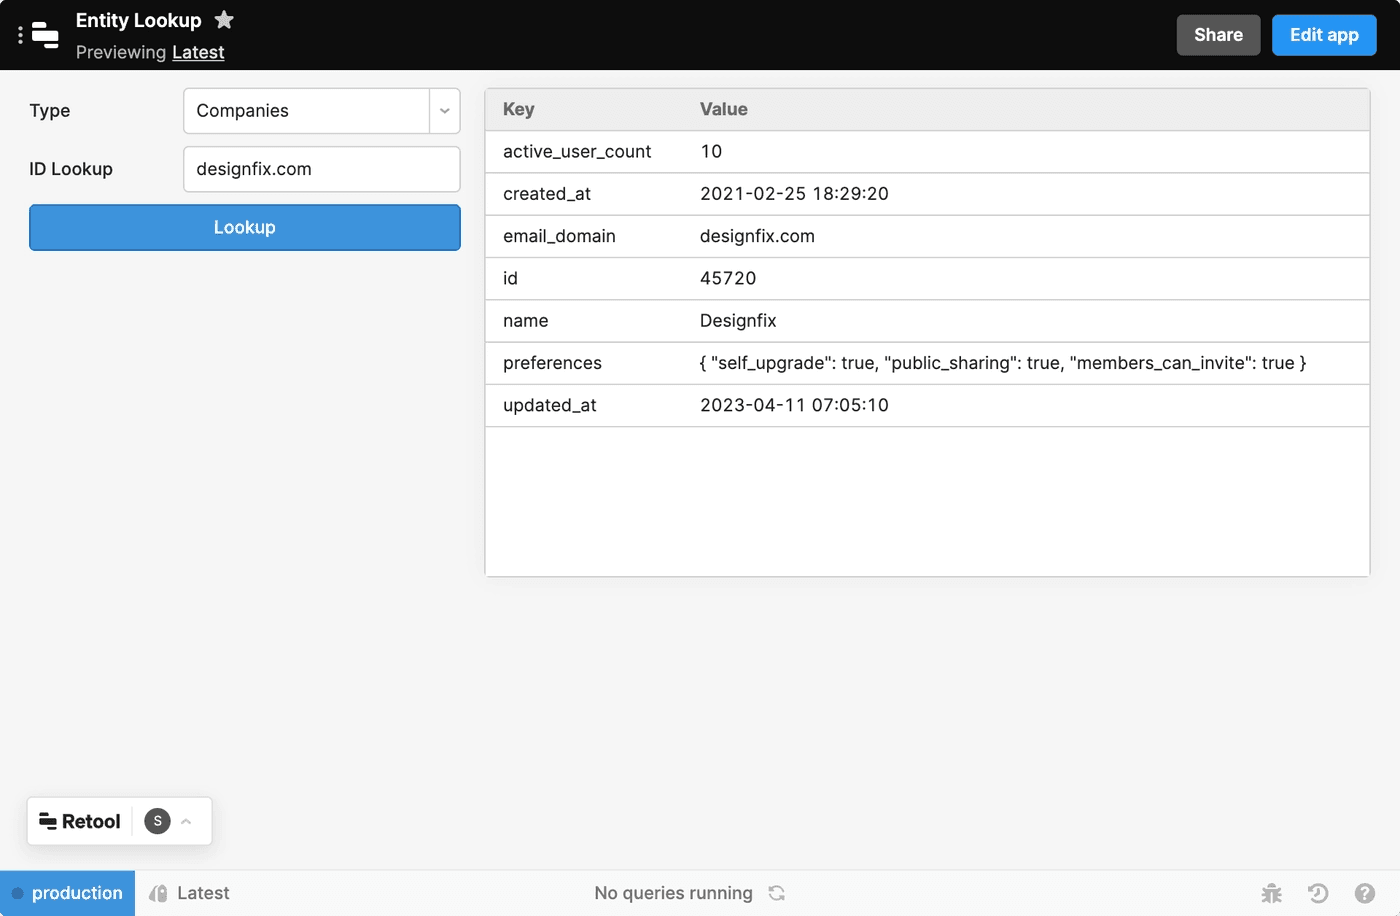
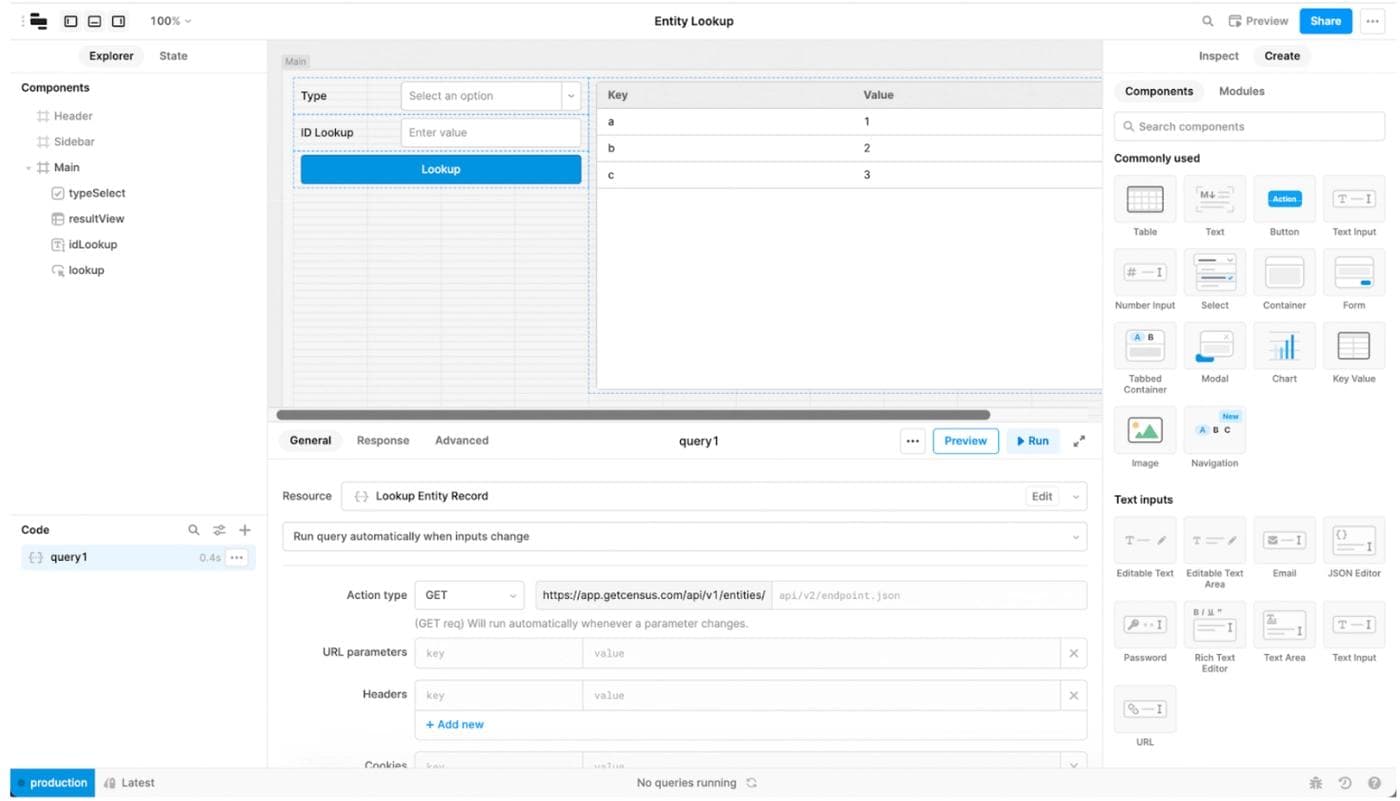
Our new app is going to be a straightforward one to start. It will automatically list out all the available Entities, and accept an ID to look up in a text field. Pressing the submit button will look up that specific entity record, and we’ll display the results in a nice Key Value view for quick scanning.
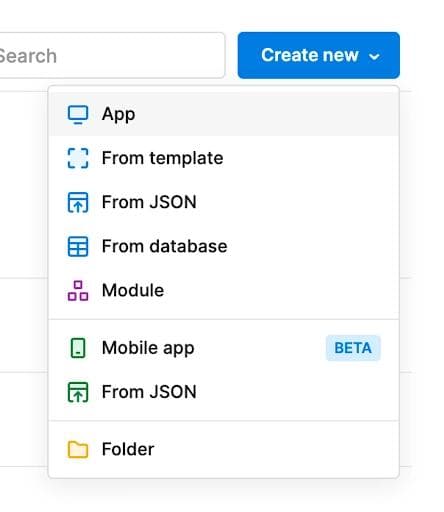
1) Create a new App in Retool. I’ll call mine Entity Lookup.
2) Drag the four new components listed here into your new canvas. You can label and organize them however you want, but I recommend you name them how we have them in the left side bar just to make the rest of the code easy to follow:
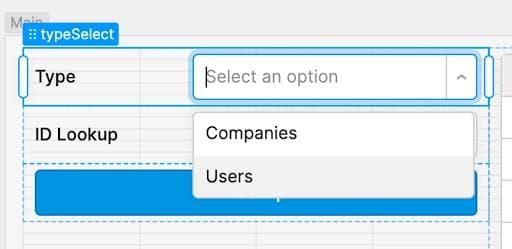
- Select component called typeSelect
- Text Input component called idLookup
- Button component called lookup
- Key Value component called resultView
3) Now we’ll start talking to the Entity API. First things first, let’s get a list of all the available Entities.
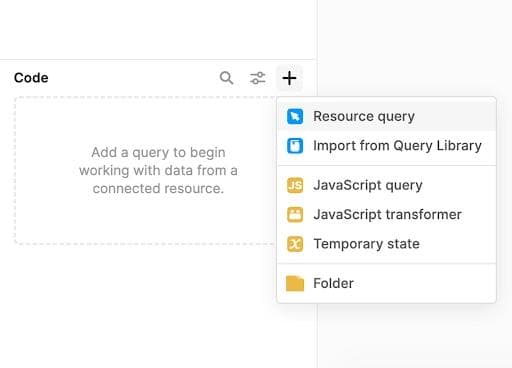
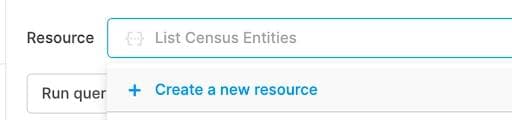
- Click the + in the title bar of the Code panel and then select Resource query. Then in the General tab panel pick the + Create a new resource from the Resources menu. Select REST API from the list of all the potential resources.
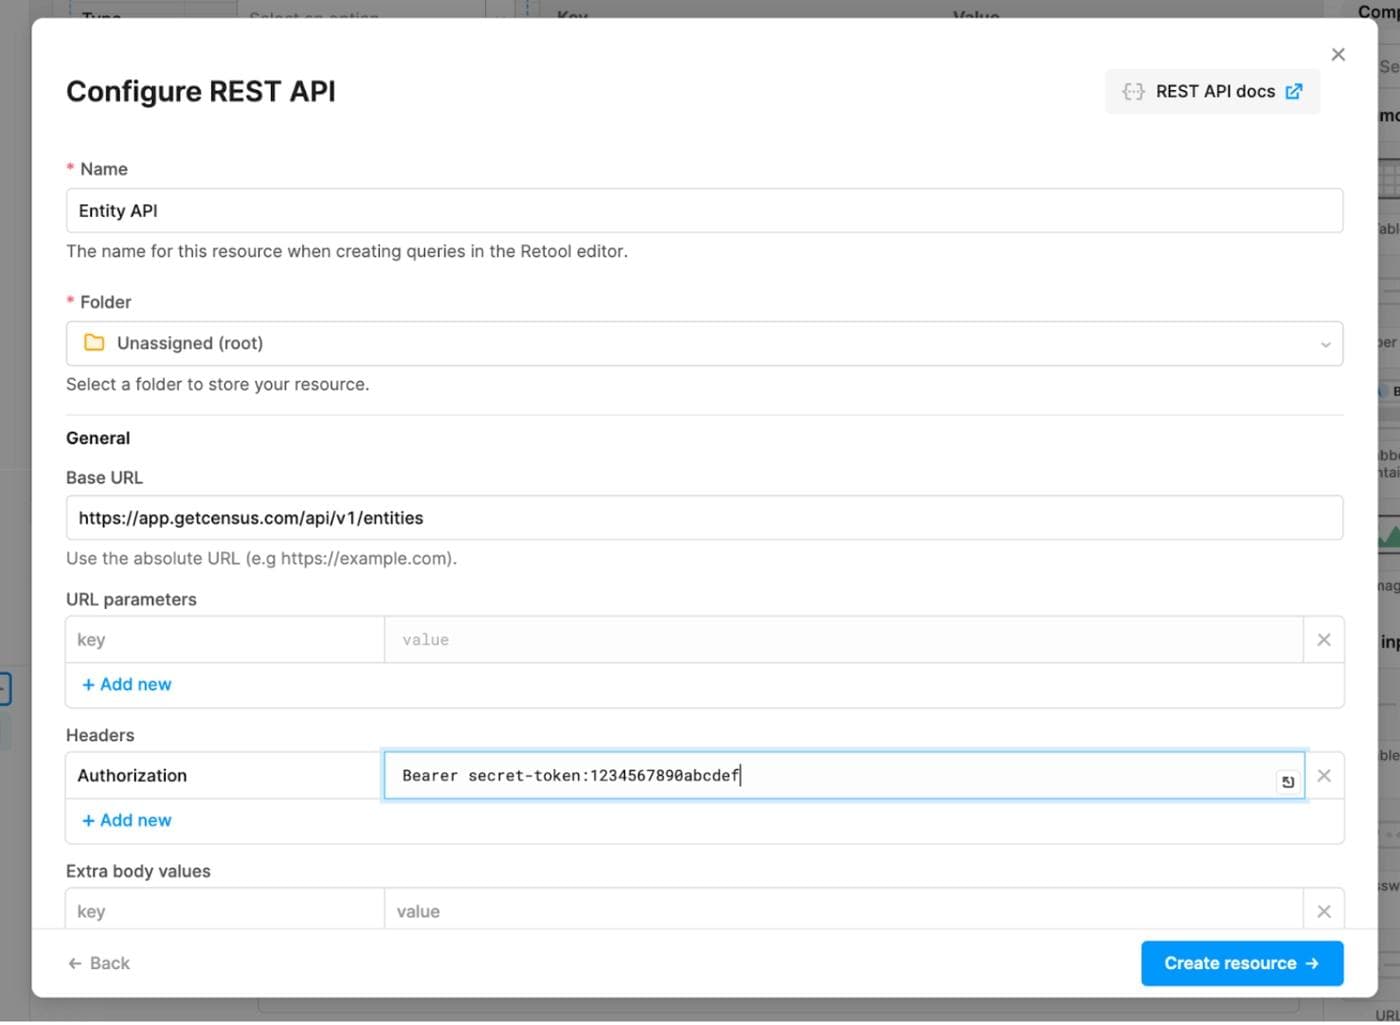
- Configure the Census Entity API definition. You’ll need to specify the Base URL of
https://app.getcensus.com/api/v1/entitiesand include your API key in a new header with the formatAuthorization Bearer [your api key]. (For more information on how this API works, see the Census Entity API docs.) - Go ahead and save this new resource. You’ll end up with an entry under Code called query1. Rename it to lookup_entities.
- You should now be able to hit Preview and see all of your entities come back as JSON. If you don’t, chances are there’s an issue with the authentication or a typo in the Base URL. Go back and confirm your Entity API definition looks like the one here, and ensure the API key matches.
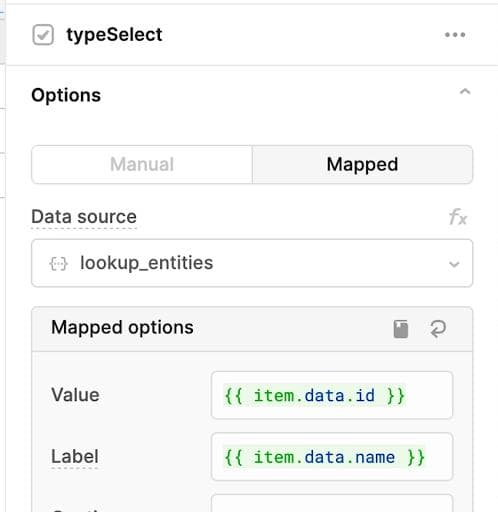
4) Now we’re going to wire up these entities to the Select. Retool makes this incredibly simple. Click on the Select component in the canvas and in the Inspector panel switch the toggle from Manual to Mapped. Pick {{lookup_entities}} from the data source. (If you see an error about no values, you’ll need to hit the Run button in the bottom panel first, and then pick {{lookup_entities}} again.)
Under Mapped options, update two fields:
- Value:
{{ [item.data.id] }} - Label:
{{ [item.data.name] }}
This configuration tells Retool how to extract the entity name and ID from the API response and show it in the options. If you now try to expand the Select component in the canvas, you’ll see your entities.
5) This is the tricky part. We’re going to create a second API request that’s triggered when the Lookup button is pressed and will combine the selected type and the ID. We’ll use the double brackets again to do this, but in a new way.
- Add another Code → Resource Query. This will also use the Entity API resource we configured before. Rename query2 to lookup_record.
- To the right of the Base URL, we’re going to add our parameters from the form
{{typeSelect.value}}/record?record_id={{idLookup.value}}. - We’re also going to change the behavior of this resource to Run query only when manually triggered.
- If you hit Save and Run now, you’ll likely see 404 because your form is empty.
- Go back into your form, select an entity type, and put in a known good ID. Hit Run again, and you’ll now see some real data!
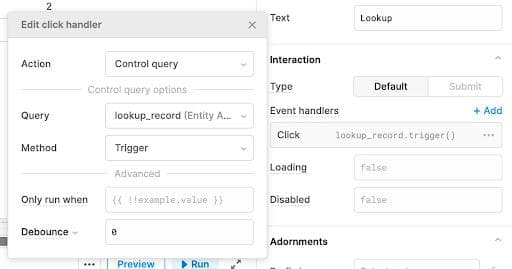
6) The last step is to wire this all together.
- Click on your button and add an event handler to Control Query → Trigger → lookup_record. This will make the button refresh the look up record.
- Click on your Key Value and replace the dummy data with
{{lookup_record.data.data}}. If you saw real data at the end of step 5, you should see your Key Value come to life.
Click Preview to see your new app in all its glory.
And that’s it! By leveraging Retool + Census, you’re now on your way to broadcasting your Customer 360 data anywhere you need it.
To start activating your data today, reach out to our friends at hello@getcensus.com or sign up for a Census onboarding session.
Ready to build with Retool? Start for free here.
Reader